Benefits of Using Free Kitchen Island Plans
Free kitchen island plans offer cost savings‚ versatility‚ and step-by-step guidance‚ making DIY projects accessible for all skill levels. They include detailed material lists and measurements‚ ensuring a smooth building process while enhancing your kitchen’s functionality and style.
1.1 Why Choose Free Kitchen Island Plans?
Free kitchen island plans are an excellent choice for DIY enthusiasts‚ offering cost savings‚ detailed instructions‚ and versatility. They provide pre-measured layouts‚ material lists‚ and step-by-step guides‚ making it easier to create a functional and stylish island. These plans cater to various skill levels and kitchen sizes‚ ensuring a personalized and budget-friendly solution for enhancing your kitchen space.
1.2 How Free Plans Save Money and Time
Free kitchen island plans eliminate the cost of purchasing designs‚ saving money. They provide detailed material lists and step-by-step instructions‚ reducing errors and waste. By offering pre-measured layouts‚ these plans streamline the building process‚ saving time. They also cater to various skill levels‚ ensuring a efficient and cost-effective DIY project for enhancing your kitchen’s functionality and style.
Finding the Best Free Kitchen Island Plans Online
Discovering top-quality free kitchen island plans online is straightforward. Websites like Ana-White and Designs by Studio C offer downloadable PDFs with detailed instructions. Search for “free kitchen island plans PDF” to explore a variety of styles and designs. Look for plans with clear material lists‚ measurements‚ and step-by-step guides to ensure a smooth DIY experience tailored to your kitchen needs.
2.1 Top Websites for Downloading Free Plans
Popular websites like Ana-White.com‚ Designs by Studio C‚ and Blitsy.com offer high-quality‚ free kitchen island plans in PDF format. These sites provide detailed designs‚ material lists‚ and step-by-step instructions. Ana-White features modern and rustic styles‚ while Designs by Studio C offers customizable options. Blitsy.com includes comprehensive guides for various skill levels‚ ensuring you find the perfect plan for your kitchen.
2.2 What to Look for in a Quality Plan
A quality plan should include detailed instructions‚ material lists‚ and precise measurements. Look for clear assembly steps‚ 3D diagrams‚ and cut lists. Ensure the plan suits your skill level and kitchen size. Check for customization options and visual aids like step-by-step images to help you build confidently. A good plan should also specify tools needed and offer troubleshooting tips.
Materials and Tools Required
Essential materials include wood‚ screws‚ and hardware. Tools needed are a table saw‚ drill‚ sanders‚ and measuring tape. PDF plans often provide detailed cut lists and requirements.
3.1 Essential Materials for Building a Kitchen Island
Key materials include、screws、、、paintstain. Countertops、 butcher block‚ or laminate. Additional components like drawers‚ shelves‚ or cabinets may require hardware. Free PDF plans often provide detailed material lists‚ specifying quantities and sizes for each part‚ ensuring accuracy and efficiency in your DIY project.
3.2 Tools You’ll Need for the Project
Essential tools include a table saw‚ drill‚ screwdriver‚ tape measure‚ and sandpaper. A Kreg Jig is useful for assembly‚ while clamps and a level ensure stability. Safety gear like gloves and goggles is recommended. Free PDF plans often list specific tools‚ ensuring you’re well-prepared for each step of the project‚ from cutting wood to final assembly.
Design and Style Options
Explore modern and rustic designs‚ with options to customize size‚ materials‚ and features. Free PDF plans offer versatile templates to match your kitchen’s unique aesthetic and functionality;
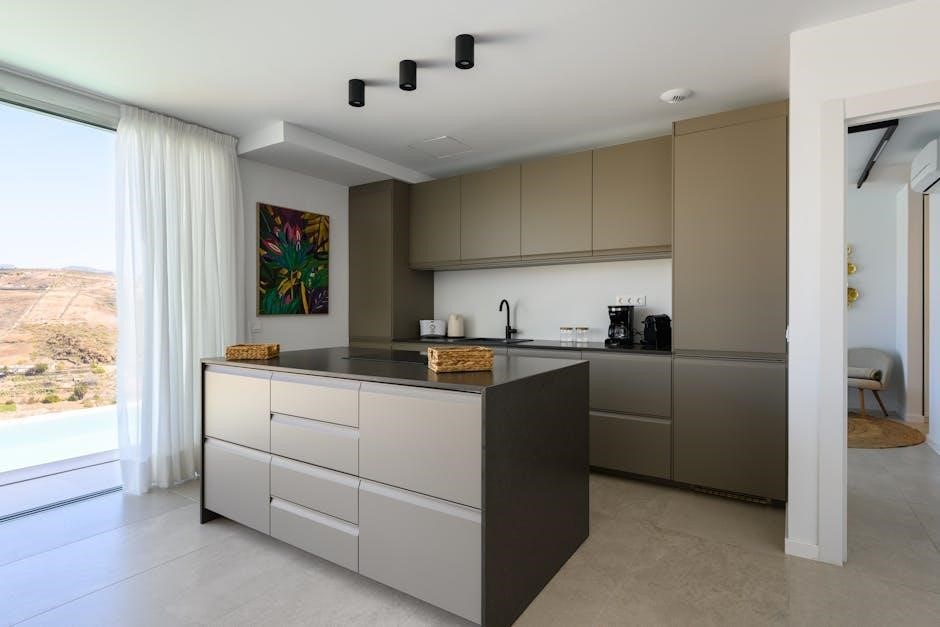
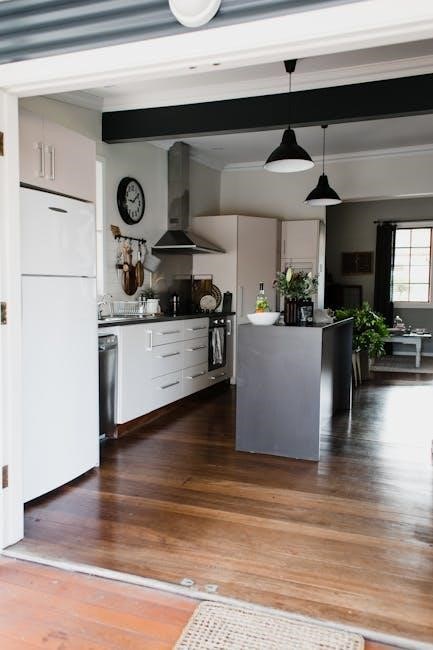
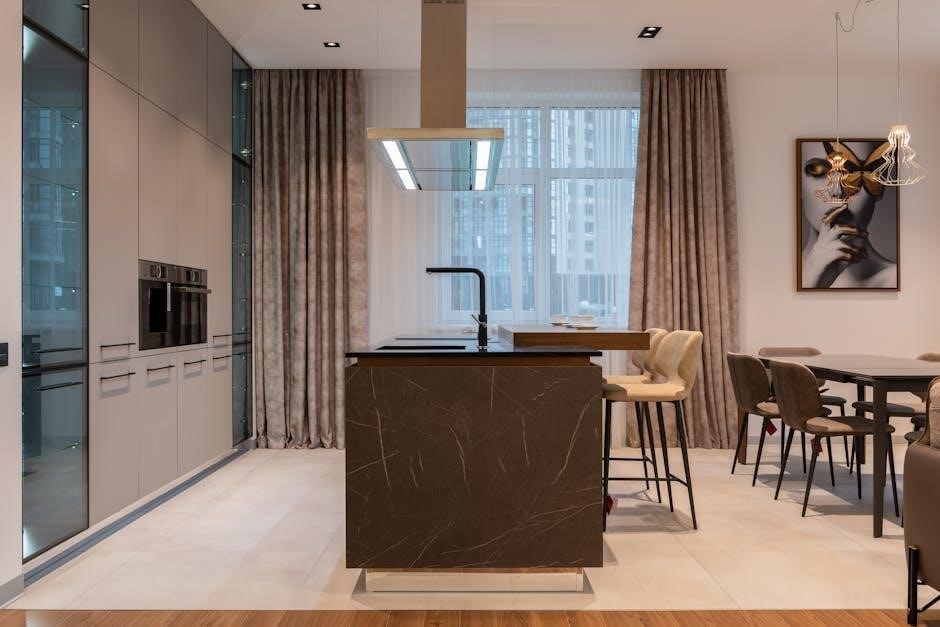
4.1 Modern vs. Rustic Kitchen Island Designs
Modern designs feature sleek lines‚ minimalist aesthetics‚ and materials like metal or glass‚ while rustic styles emphasize natural wood‚ distressed finishes‚ and classic details. Free PDF plans offer templates for both‚ allowing customization to suit your kitchen’s decor‚ whether you prefer contemporary sophistication or cozy‚ timeless charm.
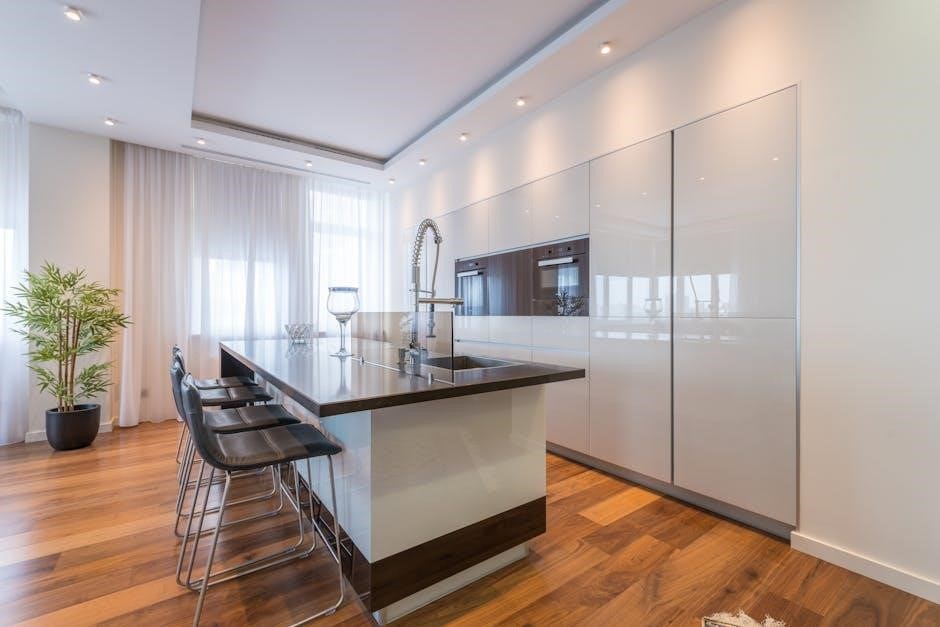
4.2 Customizing Your Island to Fit Your Kitchen
Free kitchen island plans allow you to tailor designs to your space and preferences. Adjust dimensions‚ materials‚ and features like storage or seating to match your kitchen’s layout. Choose from various styles‚ add personalized touches‚ and incorporate functional elements‚ ensuring your island seamlessly integrates with your kitchen’s aesthetic and meets your practical needs.
Step-by-Step Building Instructions
Free kitchen island plans provide clear‚ organized instructions‚ guiding you through preparation‚ assembly‚ and finishing. Detailed steps‚ cutting lists‚ and 3D diagrams ensure a smooth‚ successful build.
5.1 Preparing the Workspace and Tools
Start by organizing your workspace‚ ensuring it is clean and well-lit. Gather all necessary tools‚ such as a table saw‚ drill‚ and Kreg Jig‚ as specified in the free PDF plans. Arrange materials like wood planks and screws within easy reach. Safety gear‚ including gloves and goggles‚ is essential. Double-check the cut list and ensure all components are labeled to streamline the assembly process.
5.2 Assembling and Installing the Island
Begin by assembling the island frame using a Kreg Jig and 2-1/2″ pocket hole screws for secure joints. Attach shelves and drawers according to the plan. Once assembled‚ carefully move the island to your kitchen. Ensure the top is evenly secured and level. Anchor the island to the floor if desired for stability. Follow the PDF guide for precise alignment and final placement.
5.3 Finishing Touches for a Polished Look
Tips for Choosing the Right Size
Measure your kitchen space to ensure the island fits comfortably‚ leaving at least 36 inches of clearance around it for easy movement and workflow efficiency.
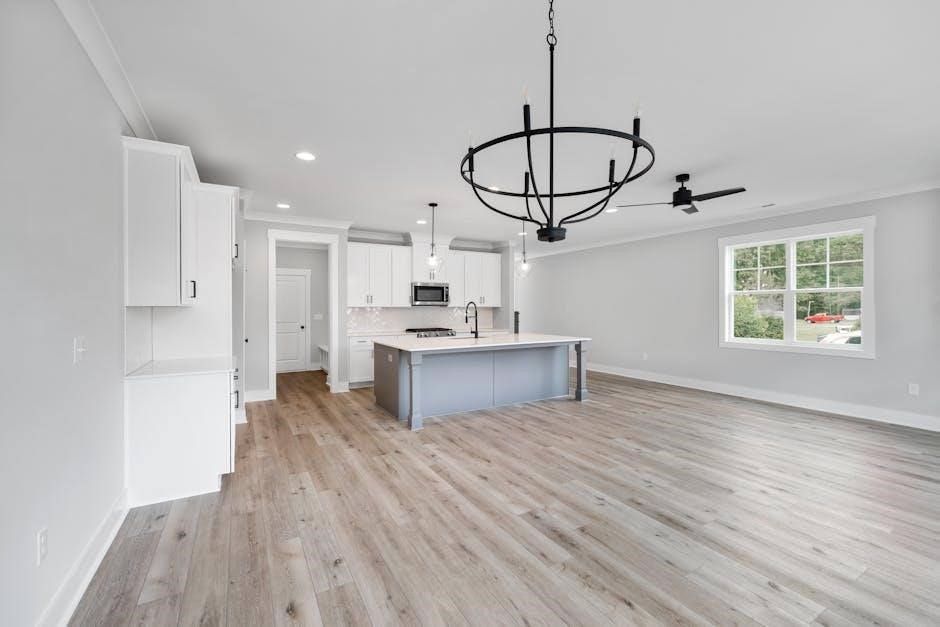
6.1 Measuring Your Kitchen Space
Accurate measurements are crucial for a well-fitting kitchen island. Measure your kitchen’s length‚ width‚ and existing fixtures to determine the ideal size and placement. Ensure at least 36 inches of clearance around the island for smooth traffic flow and workspace efficiency. Consider the room’s proportions and the island’s intended use to strike a balance between functionality and aesthetics.
6.2 Adjusting Plans for Small Kitchens
For small kitchens‚ adjust plans by scaling down dimensions and optimizing storage. Choose compact designs with multi-functional features like built-in cutting boards or foldable counters. Utilize vertical space with shelves or hooks to maximize utility without overcrowding. Ensure the island complements the room’s proportions‚ enhancing functionality while maintaining a spacious feel through clever design and careful planning.
Safety Precautions and Best Practices
Emphasize wearing safety gear and using tools correctly. Ensure the workspace is stable and clear. Follow all instructions carefully to avoid accidents and ensure a successful project.
7.1 Essential Safety Tips for DIY Projects
Safety is crucial when working on DIY projects. Always wear protective gear like gloves and safety glasses. Ensure proper ventilation and keep the workspace clear of clutter. Follow tool manufacturer instructions and maintain a stable work surface. Avoid wearing loose clothing that could get caught in machinery. Keep children and pets away while working. Take regular breaks to stay focused and prevent accidents. Proper preparation and adherence to safety guidelines ensure a successful and injury-free project.
7.2 Common Mistakes to Avoid
Common mistakes include incorrect measurements‚ poor material choices‚ and not following plans. Ensure all cuts and assemblies are precise. Avoid rushing the project‚ as this can lead to structural issues. Double-check all instructions before starting. Properly sand and finish surfaces to avoid splinters. Ignoring safety guidelines is another major mistake. Always measure twice and cut once to prevent costly errors. Patience and attention to detail are key to a successful build.
Customizing Your Kitchen Island
Customizing your kitchen island allows you to add storage‚ choose countertops‚ and select styles that match your kitchen’s aesthetic‚ enhancing functionality and personalizing your space.
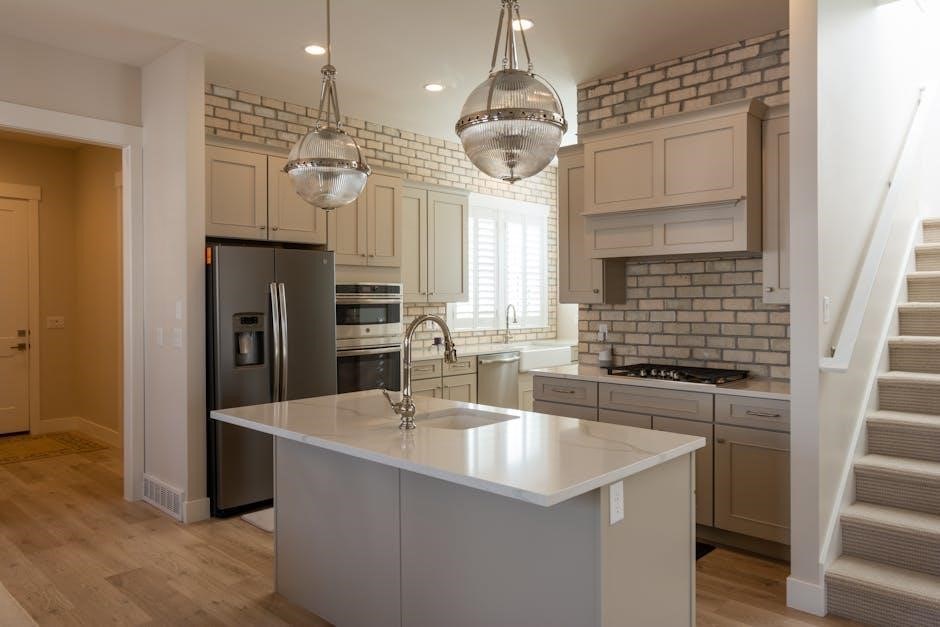
8.1 Adding Storage Solutions
Adding storage solutions to your kitchen island enhances functionality. Incorporate shelves‚ drawers‚ and cabinets to maximize space. Many free plans include designs with built-in storage‚ such as large drawers and shelves‚ allowing you to keep utensils and cookware organized. Customizing storage options ensures your island meets your specific needs‚ improving workflow and reducing clutter in the kitchen.
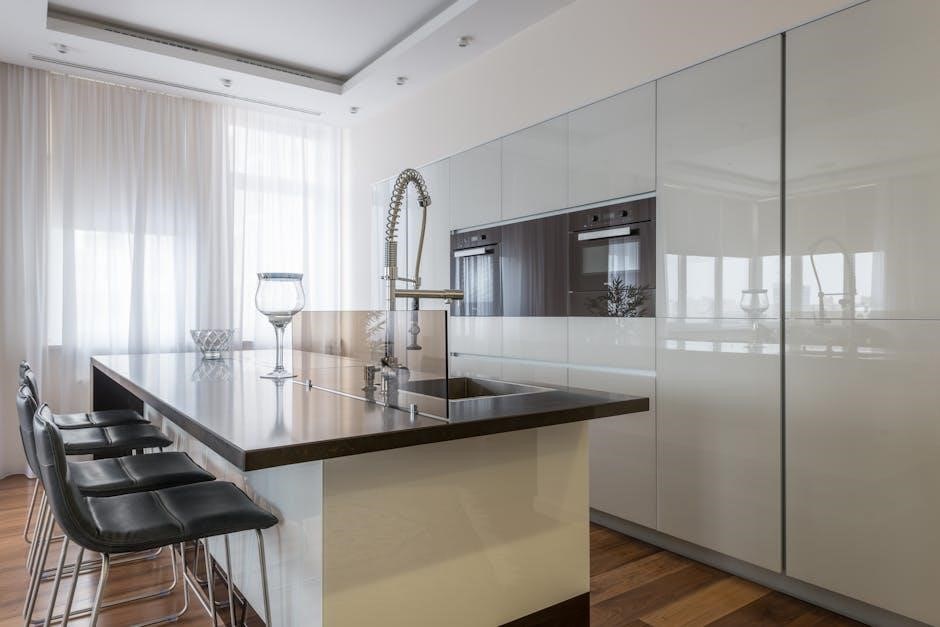
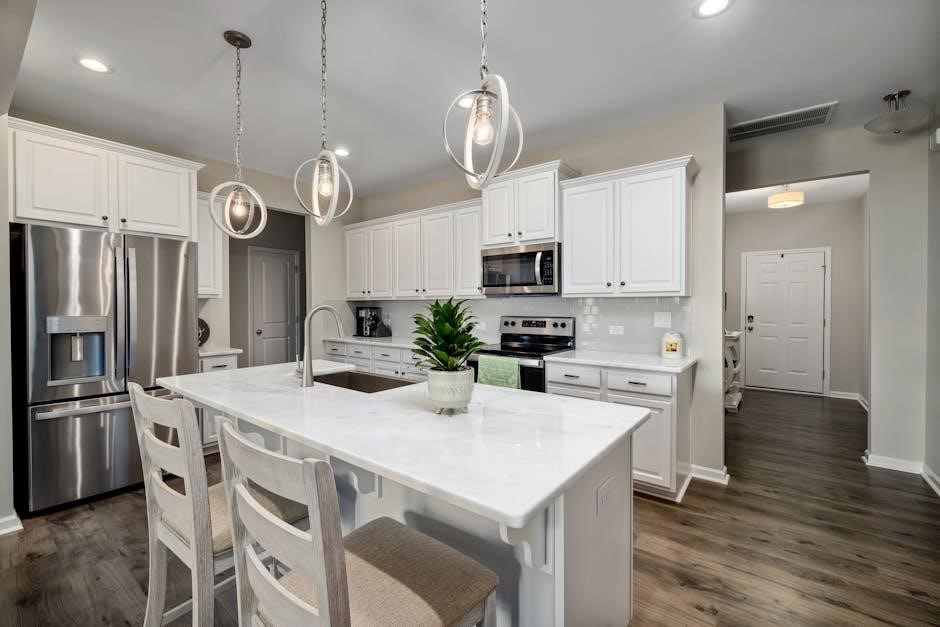
8.2 Choosing the Perfect Countertop
Choosing the perfect countertop for your kitchen island involves considering durability‚ aesthetics‚ and maintenance. Wood and butcher block offer a rustic charm‚ while laminate provides an affordable‚ low-maintenance option. Many free plans include designs with wood countertops‚ which can be sanded and finished for a polished look. Ensure the material complements your kitchen’s style and meets your functional needs for a cohesive design.
Budgeting and Cost Management
Free kitchen island plans help budgeting by detailing affordable materials and tools. Estimate costs using provided lists and opt for cost-effective options like wood for a budget-friendly project.
9.1 Estimating Costs for Materials
Free kitchen island plans often include detailed material lists‚ helping you estimate costs accurately. Choose affordable options like wood and recycled materials to stay within budget. Tools and supplies can be sourced cost-effectively‚ ensuring your project remains budget-friendly while maintaining quality and functionality.
9.2 Saving Money on Tools and Supplies
Save money by purchasing tools and supplies on sale or secondhand. Use coupons and shop during holidays for discounts. Opt for cost-effective materials like reclaimed wood and basic hardware. Free plans often suggest budget-friendly alternatives‚ helping you reduce expenses while maintaining quality and functionality.
Troubleshooting Common Issues
Address common issues like uneven alignment or loose joints by double-checking measurements and using clamps. Sand rough edges and fill gaps with wood filler for a smooth finish.
10.1 Solving Assembly Problems
When assembling your kitchen island‚ ensure all pieces fit snugly by following the plan’s instructions. Use clamps to maintain alignment and sand edges for smooth joints. Check for loose screws and reinforce with wood glue if necessary. Address uneven surfaces by adjusting legs or shims. For gaps‚ apply wood filler and let it dry before sanding. Ensure the countertop is securely attached for stability. If issues persist‚ consult the plan’s troubleshooting section or seek advice from DIY forums.
10.2 Fixing Design Flaws
Identify design flaws early by reviewing your plan and prototype. Adjust measurements to ensure proper fit and functionality. Sand uneven surfaces or fill gaps with wood filler. For aesthetic issues‚ repaint or stain to match your kitchen. Modify storage solutions if space is impractical. Ensure electrical outlets are safely installed and accessible. Regularly inspect the island for stability and make necessary adjustments to prevent wobbling or structural weaknesses.
Advanced Features and Upgrades
Elevate functionality by adding electrical outlets‚ USB ports‚ or built-in lighting. Incorporate smart technology like touch-activated surfaces or wireless charging stations for modern convenience and elegance.
11.1 Adding Electrical Outlets
Installing electrical outlets in your kitchen island enhances functionality‚ allowing convenient charging of devices and powering appliances. Many free plans include wiring diagrams and outlet placement tips. Ensure safety by consulting a licensed electrician for proper installation. This upgrade transforms your island into a modern‚ functional hub‚ seamlessly integrating technology into your kitchen workflow.
11.2 Incorporating Modern Technology
Incorporating modern technology‚ such as USB ports‚ wireless charging stations‚ or smart device integration‚ enhances your kitchen island’s functionality. Many free plans now include designs for tech-friendly features‚ ensuring your island stays contemporary and user-friendly. These upgrades not only add convenience but also align with the growing demand for smart home solutions‚ making your kitchen island a hub of innovation and practicality.
Future Trends in Kitchen Island Design
Future kitchen islands will emphasize sustainability‚ smart technology‚ and multi-functional designs‚ blending eco-friendly materials with innovative features to meet modern lifestyle demands efficiently.
12.1 Sustainability in Kitchen Island Construction
Sustainable kitchen island construction focuses on eco-friendly materials like reclaimed wood‚ bamboo‚ and recycled metal. Energy-efficient features‚ such as LED lighting and low-VOC finishes‚ are also gaining popularity. DIY plans often incorporate these elements‚ allowing homeowners to create environmentally responsible islands that align with modern green living standards while maintaining functionality and style.
12.2 Smart Kitchen Islands for the Future
Smart kitchen islands integrate advanced technology‚ such as built-in chargers‚ voice-controlled appliances‚ and app-connected devices. Future designs may include automated storage‚ touch-activated countertops‚ and energy-efficient components. These innovations aim to enhance functionality while promoting eco-friendly practices‚ offering homeowners a seamless blend of convenience and sustainability in their kitchen spaces.