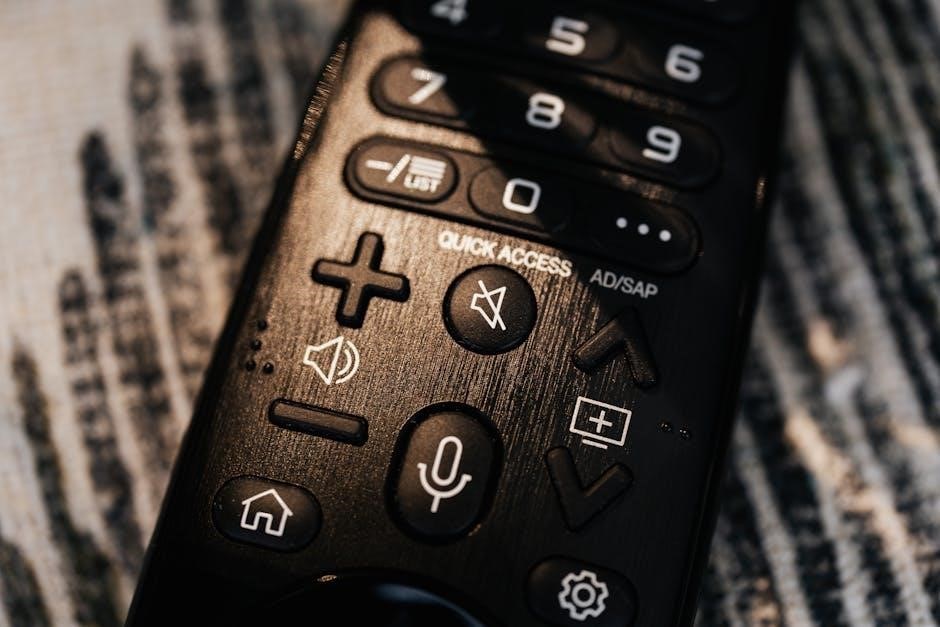
Velux remote controls offer convenience for skylights and blinds, but issues like weak signals or syncing problems can arise. This guide provides troubleshooting steps and maintenance tips to ensure smooth operation and resolve common faults effectively.

1.1 Understanding the Importance of Proper Remote Functionality
Proper Velux remote functionality is crucial for seamless control of skylights and blinds, ensuring convenience and energy efficiency. It allows precise adjustments, enhancing indoor climate and comfort. Malfunctions can disrupt operations, leading to reduced efficiency and user frustration. Regular maintenance and troubleshooting are essential to uphold performance and maximize the benefits of Velux products.
1.2 Overview of Velux Remote Control Models
Velux offers a range of remote control models, including the KLR 200, KLF 200, and WLR 100, each designed for specific product compatibility. These models vary in features, from basic operation to advanced functionalities like app integration. Understanding your remote model is key to effective troubleshooting and ensures you use the correct procedures for maintenance and repair, optimizing performance and user experience.

Common Issues with Velux Remote Controls
Velux remotes often face issues like weak signal strength, syncing problems with skylights or blinds, and display malfunctions. These common faults can disrupt operation and require troubleshooting.
2.1 No Power or Weak Signal
A common issue with Velux remote controls is no power or weak signal strength, often due to dead batteries or incorrect installation. Ensure batteries are correctly inserted and replace them if weak. Check for physical obstructions or interference from other devices. Resetting the remote by pressing the reset button with a pin for 5-10 seconds may resolve connectivity issues. If problems persist, ensure the remote is properly synced with your skylights or blinds. Weak signals can also indicate faulty hardware, requiring professional attention.
2.2 Remote Not Syncing with Skylights or Blinds
If your Velux remote isn’t syncing with skylights or blinds, ensure the remote is properly reset and resynced. Press the reset button with a pin for 5 seconds to reset the remote. Turn off power to skylights, then reset and resync. Check for interference or physical obstructions. Ensure batteries are fresh and correctly installed. If issues persist, consult the user manual or contact a professional for assistance. Proper syncing ensures smooth operation of Velux products.
2.3 Display Malfunction or Frozen Screen
A frozen or malfunctioning display on your Velux remote can disrupt operation. Try resetting the remote by holding the reset button for 5-10 seconds. Ensure batteries are fresh and correctly installed. If the issue persists, check for firmware updates or contact Velux support. Avoid physical damage or exposure to moisture, which can cause display issues. Regularly updating firmware and maintaining proper care ensures optimal performance and functionality of your Velux remote control system.

Resetting the Velux Remote Control
Resetting your Velux remote control can resolve connectivity or functionality issues. Press and hold the reset button for 5 seconds to restore default settings.
3.1 Step-by-Step Reset Process
To reset a Velux remote, locate the small reset button in the battery compartment. Use a pin or sharp object to press and hold it for 5 seconds. Release and reinsert the batteries. This process restores default settings, resolving connectivity issues. Ensure the remote is away from the skylight during reset. After resetting, sync the remote with your skylight or blinds to restore functionality.
3.2 What to Expect After Resetting
After resetting your Velux remote, it will revert to factory settings, erasing all customizations. The remote will no longer retain previously saved settings or synced skylight configurations. You will need to resync the remote with your Velux products to restore functionality. This process ensures proper communication between the remote and skylights or blinds, addressing connectivity issues effectively. Resetting is a common troubleshooting step to resolve operational glitches and restore optimal performance.

Syncing the Remote Control with Velux Products
Syncing your Velux remote ensures proper communication with skylights or blinds. Follow model-specific instructions, such as button combinations or reset procedures, to establish a reliable connection.
4.1 Syncing with a Single Skylight
To sync your Velux remote with a single skylight, start by resetting the remote. Press and hold the reset button until the skylight moves slightly, indicating the motor has been reset. Next, ensure the remote is pointing directly at the skylight and press the appropriate button to initiate pairing. Hold the button until the skylight responds, confirming the connection. Finally, test the remote to ensure all functions operate smoothly.

4.2 Syncing with Multiple Skylights or Blinds
Syncing multiple skylights or blinds involves a sequential process. Press and hold the reset button on each unit to initialize pairing. Point the remote at each skylight or blind and press the corresponding button to sync. Repeat this process for all units, ensuring each is paired individually. After syncing, test the remote to confirm it controls all skylights or blinds seamlessly. This method ensures reliable operation across multiple devices connected to the same remote control system.
4.3 Specific Instructions for KLR 200 and KLF 200 Models
The KLR 200 and KLF 200 models require unique pairing methods. For syncing, press the remote’s reset button and hold until the skylight or blind moves. Then, quickly select the desired channel. For multiple units, repeat this process, ensuring each is paired separately. Note that these models may require additional steps like adjusting sensitivity settings or updating firmware. Always refer to the specific user manual for detailed instructions tailored to these advanced units.

Battery Maintenance and Replacement
Use 1.5V AAA batteries for optimal performance. Insert correctly as shown in the manual. Avoid mixing old and new batteries to prevent malfunction.
5.1 Recommended Battery Type and Installation
Use 1.5V AAA alkaline batteries for optimal performance. Insert batteries with the correct polarity, ensuring the positive terminal faces the correct direction. Avoid mixing old and new batteries, as this can cause malfunction. Proper installation ensures reliable signal strength and prevents remote control issues. Refer to the user manual for specific guidelines. High-quality batteries are recommended for consistent operation.
5.2 Signs of Battery Weakness
Signs of weak batteries include reduced remote range, intermittent operation, or slow response times. If the remote fails to sync or its functions become unreliable, it may indicate low battery power. Ensure reliable performance by using high-quality, non-mixed batteries. Weak batteries can also cause the remote to malfunction or fail to pair with skylights or blinds. Regularly check and replace batteries to maintain optimal functionality.

Advanced Troubleshooting Techniques
Address complex issues with firmware updates, interference checks, and app integration for optimal remote performance and functionality.
6.1 Checking for Interference from Other Devices
Interference from other wireless devices can disrupt Velux remote functionality. Common culprits include Wi-Fi routers, cordless phones, and nearby electronics. To resolve this, relocate the remote or affected devices, switch frequencies, or use shielding materials. Ensure no devices operate on the same channel as your Velux system. Regularly updating firmware and using the Velux Active with Netatmo app can also help mitigate interference issues effectively.
6.2 Updating Remote Control Firmware
Firmware updates are essential for optimal Velux remote performance. Regular updates fix bugs, improve functionality, and enhance compatibility. Use the Velux Active with Netatmo app to check for updates and follow on-screen instructions. Ensure the remote is fully charged and connected to the same network as your device. Updates usually take a few minutes and require the remote to restart. Always verify update success through the app or user manual to ensure smooth operation.
6.3 Using the Velux Active with Netatmo App
The Velux Active with Netatmo app enhances remote functionality by enabling smartphone control of skylights and blinds. It aids troubleshooting by diagnosing connectivity issues, providing firmware updates, and monitoring battery levels. The app can reset the remote, re-sync it with devices, and detect signal interference, offering solutions like frequency adjustments. It also guides firmware updates, which are crucial for resolving performance issues caused by outdated software. This centralized management tool simplifies troubleshooting, making it efficient and user-friendly for maintaining Velux products.

When to Contact a Professional
Contact a professional when issues persist beyond DIY troubleshooting, especially for complex systems, ensuring expert resolution and compliance with Velux standards through authorized providers.

7.1 Identifying Issues Beyond DIY Fixes
If your Velux remote control issues persist after basic troubleshooting steps like resetting or replacing batteries, it may indicate deeper problems such as hardware malfunctions or software corruption. These issues often require specialized tools and expertise to resolve effectively. In such cases, professional intervention is recommended to ensure proper diagnosis and repair, preventing further damage and restoring full functionality to your Velux products.
7.2 Finding Authorized Velux Service Providers
To locate authorized Velux service providers, visit the official Velux website or contact their customer support directly. They provide a list of certified professionals in your area. Ensure to verify their authorization to maintain warranty validity and receive high-quality service. For models like KLR 200 or KLF 200, using authorized providers guarantees compatibility and expertise. Always provide your product’s serial or model number for accurate assistance, ensuring your Velux products are repaired correctly and efficiently.
This concludes the Velux remote control troubleshooting guide. Regular maintenance and proper troubleshooting steps ensure optimal functionality. Use the Velux Active with Netatmo app for enhanced control and monitoring, contributing to a healthier indoor climate.
8.1 Summary of Key Troubleshooting Steps
Key troubleshooting steps include resetting the remote, checking battery installations, and ensuring proper syncing. For signal issues, verify no interference from other devices. Update firmware regularly and use the Velux Active with Netatmo app for seamless control. Address display malfunctions by restarting or replacing the remote. Always refer to the user manual for model-specific instructions. Regular maintenance ensures optimal functionality and extends the lifespan of your Velux remote control system.
8.2 Importance of Regular Maintenance
Regular maintenance is crucial for ensuring the longevity and efficiency of Velux remote controls. This includes checking battery levels, cleaning sensors, and updating firmware. By addressing issues early, you can prevent major malfunctions and maintain seamless control over your skylights and blinds. A well-maintained system ensures consistent performance, enhancing your home’s comfort and energy efficiency. Schedule routine checks to keep your Velux products functioning at their best and avoid unnecessary repairs or replacements.